My compact‘s driver’s seat shows typical signs of wear, as one would expect of a 17 year old car. Luckily, it has leather seats. Textile fabrics will simply rip at some point, requiring complete recovering. Leather is much more robust, and the wear is often a superficial discolouring. I ordered a restoration set from Colour Lock with the following ingredients:
- Leather cleaner
- Cleaning spirit
- Sanding pad
- Cleaning brush
- Leather Fresh dye in the appropriate colour (black)
- Leather protector (a care product)
- Leather shield (a sealant)
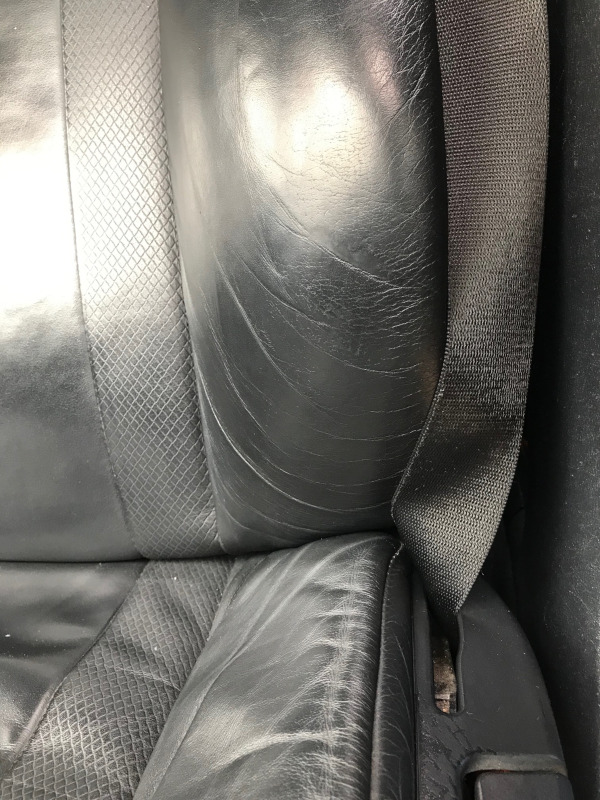
The original situation:
The process starts with cleaning, first with the leather cleaner, a wet cloth, and then the cleaning spirit. In between, the sanding pad can be used to smoothen rough areas, but this was barely necessary. Once everything is dry, the dye can be applied. Colour Lock recommends doing this twice, first a larger area with circular motion and then a more direct application to the affected areas.
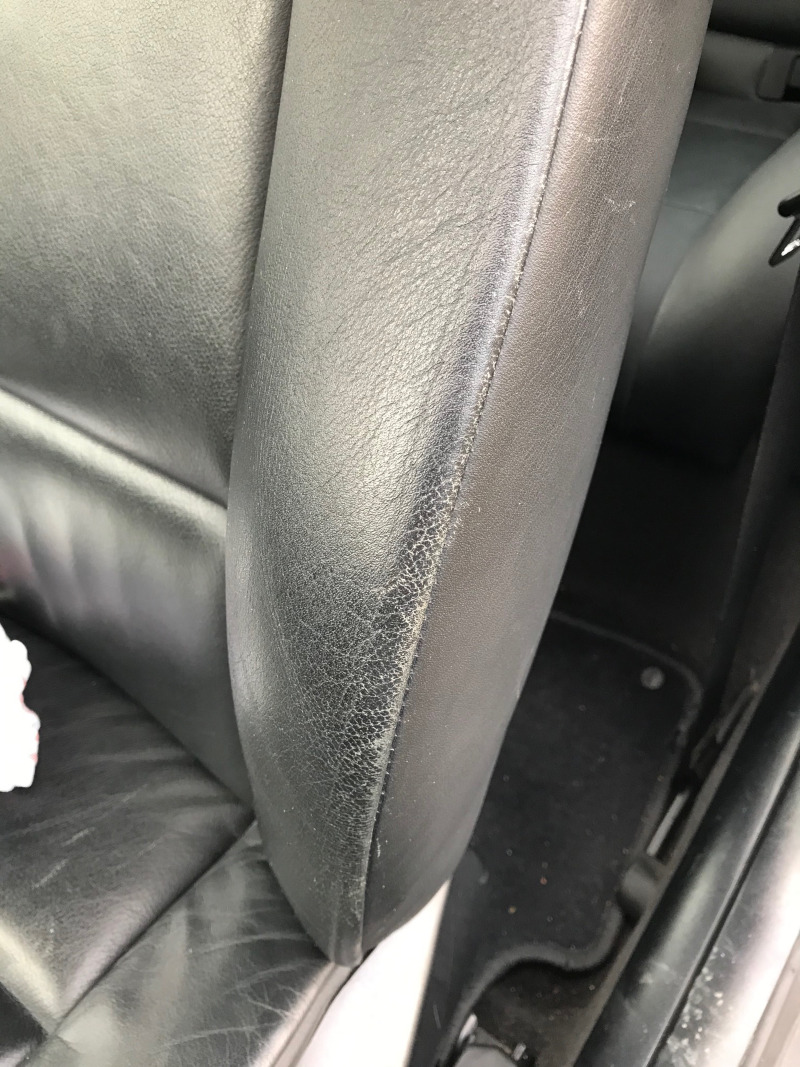
After the dye has thoroughly dried (48 hours), the sealant and protector can be applied. The protector is a general leather care product that can be used regularly on all leather parts to keep them in good condition.
The final result:
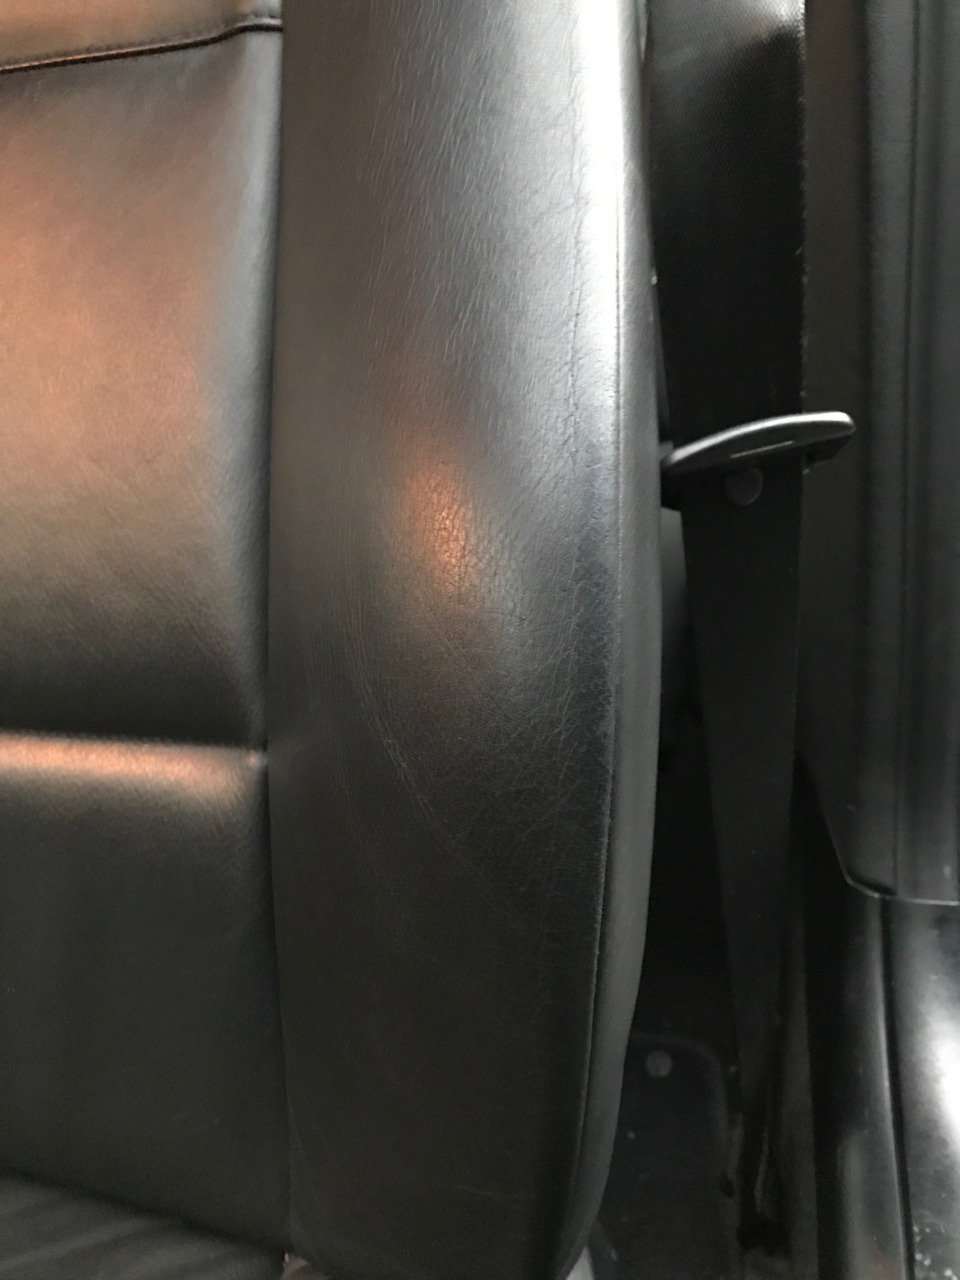
On my 530i, the process was a bit more involved, as the wear was much more pronounced (please excuse the blurry picture):
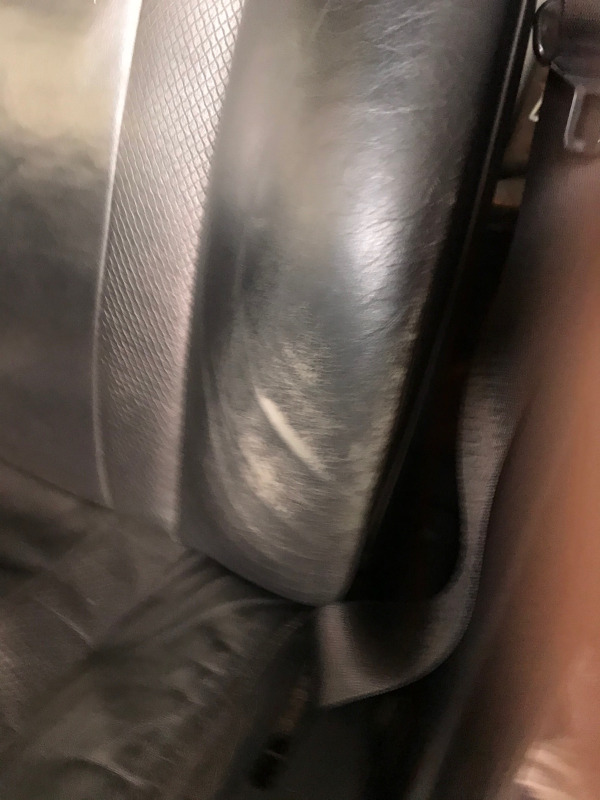
A single treatment step resulted in a visible difference in appearance between the area with the most wear and the surrounding leather. I twice sanded the entire area and reapplied several layers of dye. I’m not entirely pleased with the final result (I would probably have to thoroughly sand once more), but it will have to do for now: